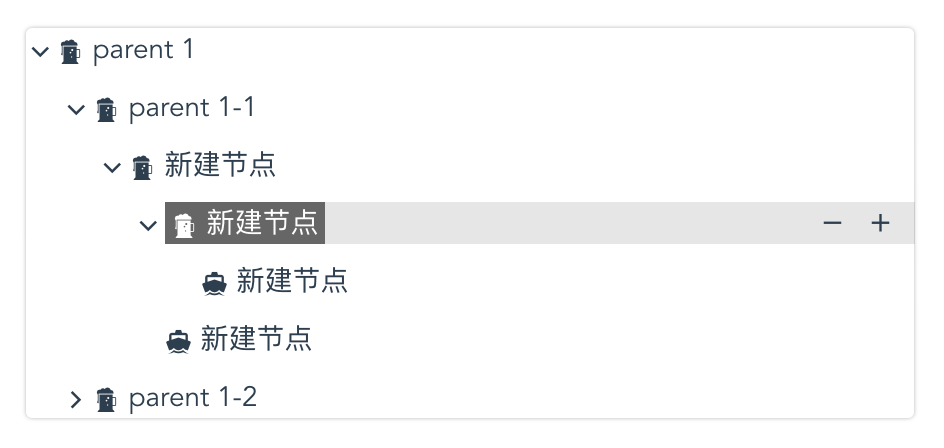
1
2
3
4
5
6
7
8
9
10
11
12
13
14
15
16
17
18
19
20
21
22
23
24
25
26
27
28
29
30
31
32
33
34
35
36
37
38
39
40
41
42
43
44
45
46
47
48
49
50
51
52
53
54
55
56
57
58
59
60
61
62
63
64
65
66
67
68
69
70
71
72
73
74
75
76
77
78
79
80
81
82
83
84
85
86
87
88
89
90
91
92
93
94
95
96
97
98
99
100
101
102
103
104
105
106
107
108
109
110
111
112
113
114
115
116
117
118
119
120
121
122
123
124
125
126
127
128
129
130
131
132
133
134
135
136
137
138
| <template>
<div class="tree-demo">
<Tree :data="treeNodes" :render="treeNodeRender"></Tree>
</div>
</template>
<script>
const treeNodes = [
{
title: 'parent 1',
expand: true,
children: [
{
title: 'parent 1-1',
expand: true,
children: [
{ title: 'leaf 1-1-1' },
{ title: 'leaf 1-1-2' },
]
},
{
title: 'parent 1-2',
expand: false,
children: [
{ title: 'leaf 1-2-1' },
{ title: 'leaf 1-2-1' },
]
}
]
}
];
export default {
data() {
return {
treeNodes: []
};
},
created() {
this.treeNodes = treeNodes;
},
methods: {
clickNode(e, node) {
$('.tree-node .title').removeClass('active');
$(e.target).addClass('active');
},
appendNode(data) {
const children = data.children || [];
children.push({ title: '新建节点', expand: true });
this.$set(data, 'expand', true);
this.$set(data, 'children', children);
},
removeNode(root, node, data) {
const parentKey = root.find(el => el === node).parent;
const parent = root.find(el => el.nodeKey === parentKey).node;
const index = parent.children.indexOf(data);
parent.children.splice(index, 1);
},
treeNodeRender(h, { root, node, data }) {
const hasChildren = data.children && data.children.length;
return (
<span class="tree-node">
<span class="title" onClick={(e) => { this.clickNode(e, data); }}>
<icon type={ hasChildren ? 'ios-beer' : 'md-boat'}/>
{ data.title }
</span>
<span style="flex: 1;"></span>
<icon type="md-remove" class="button" onClick= { () => { this.removeNode(root, node, data); } }/>
<icon type="md-add" class="button" onClick={ () => { this.appendNode(data); } }/>
</span>
);
}
}
};
</script>
<style lang="scss">
.tree-demo {
border-radius: 3px;
box-shadow: 0 0 2px rgba(0, 0, 0, 0.3);
}
// 节点样式
.tree-node {
display: inline-flex;
align-items: center;
width: calc(100% - 15px); // 占满当前行
font-size: 14px;
// 节点的名字: 被点击时获得样式 active
.title {
cursor: pointer;
transition: .6s all;
&.active {
padding: 0 3px;
color: white;
background: #666;
}
.ivu-icon {
margin-right: 4px;
}
}
// 按钮默认情况下隐藏
.button {
display: none;
margin-right: 10px;
}
// 鼠标移动到节点上时高亮当前行,显示按钮
&:hover {
background: rgba(0, 0, 0, 0.1);
.button {
display: inline;
&:hover {
color: #2d8cf0;
cursor: pointer;
}
}
}
}
</style>
|


